BOO!!
Halloween is just around the corner and we are thrilled to show you how to create these adorable Stackable BOO Halloween Letters using great products from Plaid and Mod Podge...
We just love how these BOO letters turned out! Let's get started!
Supplies Needed for Stackable BOO Halloween Letters...
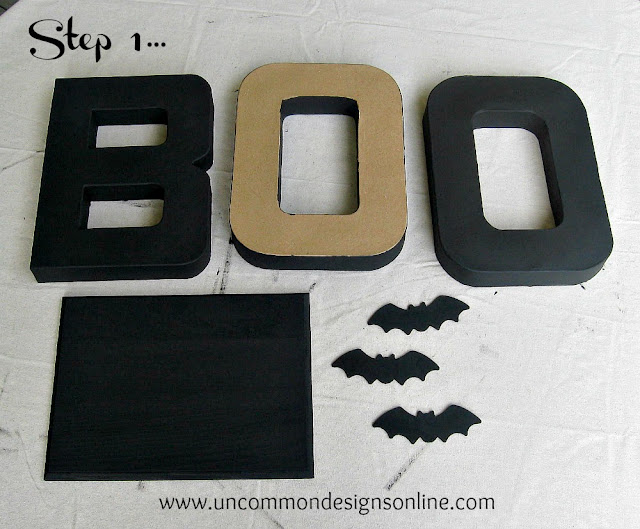
Paper Mache Letters... BOO
Wooden Plaque
Fabric of Choice
Mini Pom Pom Trim
Plaid Black Acrylic Paint
Wooden Bat Cutouts
Black Heavy Gauge Floral Wire
Glue Gun and Glue sticks
Black Felt
First, paint the wooden plaque, wooden bats, and paper mache letters with the black acrylic paint. We did not paint the front of each of the paper mache letters where we will be applying the fabric.
Next, apply a coat of Outdoor Mod Podge to the painted surfaces of the letters and wooden plaque. I used a simple foam brush to apply the Mod Podge.
Next, apply the Glow-In-The-Dark Mod Podge to the wooden bat cutouts. We applied a total of 3 coats of the Glow-In-The-Dark Mod Podge to the bats, allowing each coat to dry thoroughly before applying the next coat. They look so cute glowing!
Next, trace the paper mache letters onto the fabric of your choice and cut the fabric letters out.
Next, apply a layer of Outdoor Mod Podge to the unfinished side of the paper mache letter. Carefully place the fabric letter onto the paper mache letter. Smooth out the fabric and allow to dry. Do this for each letter. Once they are all dry, apply a coat of Outdoor Mod Podge over the fabric and sides of each letter and allow them to dry. I used Outdoor Mod Podge, as I was going to place these on my covered front porch, but wanted a little more protection from weather.
Next, we applied a fun little mini pom pom trim around the edges of each letter to finish them off. Simply use your glue gun and apply the trim around the outside of each letter and in the circles of each.
Once all the trim is applied, it is time to add the bats! We curled the floral wire around a pencil. We then glued each bat to a floral wire at the end. We punched a small hole in the letter where we wanted the bat to be. We inserted the floral wire into the hole {about 2 inches inside the letter} and added a small bit of glue from the glue gun around the wire at the hole.
Finally, you will glue the letters together and onto the wooden base. Depending on how level the letters are, you may need to use some black felt as a little "shim". Simply cut a piece of felt to fit across the area you will be gluing together to level the letters out. Glue the felt down to one letter and then glue both letters together. Make sure they are straight as you glue them together!
How cute are these! Of course, you could opt to put them each on a separate wooden base and place them up on a bookshelf or mantel. Either way would be adorable!
Mod Podge is such a versatile product and the possibilities are endless!
Stop by and check out all the Mod Podge products. Visit Mod Podge on Twitter, Facebook, and Pinterest.
Bonnie and Trish
I wrote this post as a part of a paid campaign with Mod Podge and Blueprint Social. The opinions in this post are my own. See our full disclosure statement.


